Introduction #
Umami is a tool for web access statistics and an alternative to Google Analytics. This article mainly introduces using umami to add a visitor statistics panel to a blog
We will introduce the following options:
| Platform | Deployment management method | Advantages
| Netlify + Neon | Self-operated deployment. Neon deploys PostgreSQL and Netlify deploys umami. | Free, data can be retained permanently, unlimited statistics | Deployment is troublesome, requires 2 platforms, mainly because Netlify cannot deploy DBs | https://www.netlify.com/ https://neon.tech/
| Railway | Self-operated deployment. Deploy umami and PostgreSQL on Railway. | Relatively easy to deploy, self-operated data is retained permanently, unlimited statistics | Not free, at least $5/month | https://railway.app/ |
| Vercel + TiDB Cloud | Self-operated deployment: Enable TiDB Serverless directly on TiDB Cloud and associate it with Vercel to deploy umami. | Free, simple and fast, unlimited monitoring of websites, can bind your own domain name | TiDB Cloud stores 5G of data for free | https://vercel.com/
https://tidbcloud.com/ |
✨ For specific billing methods, specifications, and other questions, please check the platform’s Pricing
Umami Cloud #
Configuration #
Go to https://cloud.umami.is/ to register, add the domain to be tracked
Tracking Code #
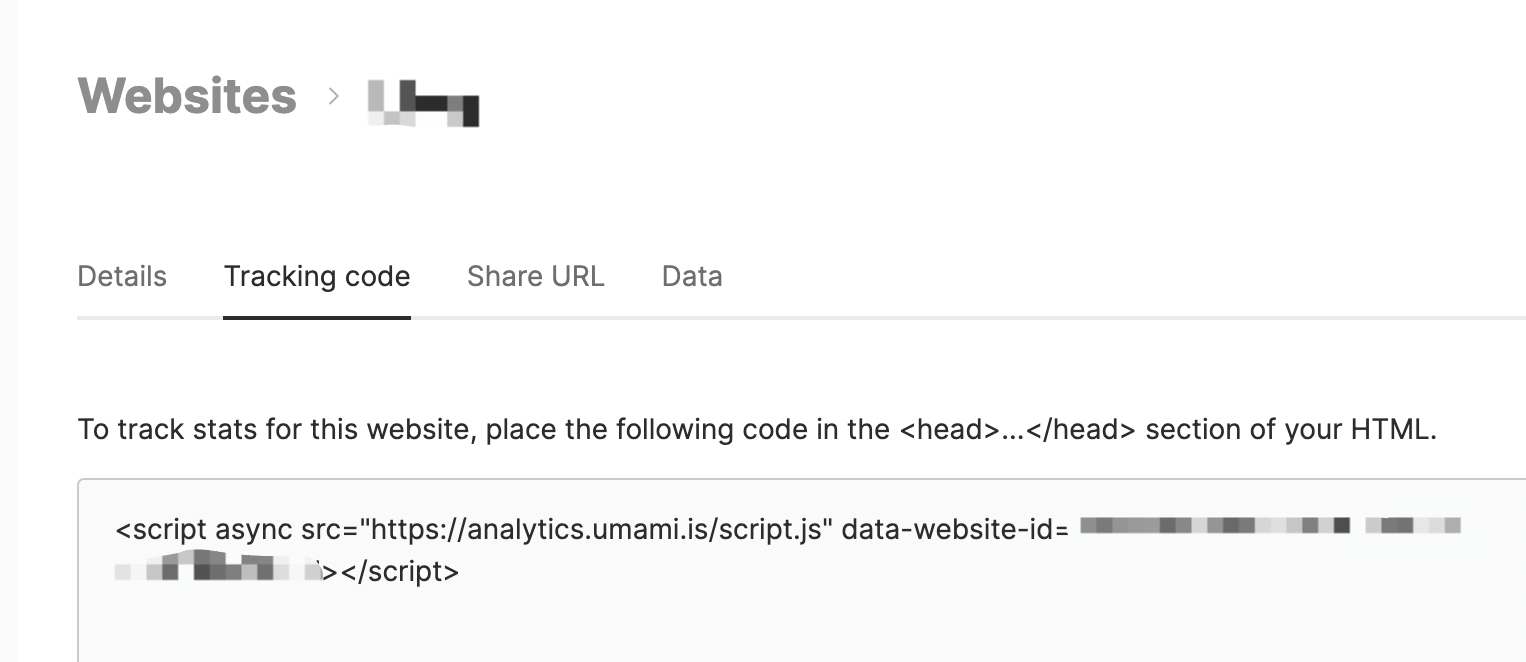
Go to https://cloud.umami.is/settings/websites, click edit for the website you want to view, and you can find the Tracking code we need to add to the website

Netlify + Neon #
Deployment #
- Go to the Neon platform to create a PostgreSQL database and record the DATABASE_URL after successful creation, for example:
postgres://user:[email protected]/neondb - Go to the Netlify platform to deploy the umami service
- Fork the umami GitHub source code
- In the Netlify platform, build the forked code base
- Add the environment variable DATABASE_URL and set the value to the database address obtained from the Neon platform
- Deploy the service
- Replace it with your own domain name address, or you can use the one provided by the platform
Tracking Code #
After successful deployment, log in to the umami console using the domain name provided by the platform. The default username is admin and the password is umami.
In “Settings” - “Website” - “Edit”, you can find the Tracking Code we need

Reference #
https://umami.is/docs/running-on-neon
https://umami.is/docs/running-on-netlify
Railway #
Deployment #
- Create Project
- Add PostgreSQL to Project
- Add and deploy umami service in Project
- Select forked umami code base
- Add the environment variable
DATABASE = ${{Postgres.DATABASE_URL}} - Deploy the service
- You can set a custom domain name or use the one provided by the platform

Tracking Code #
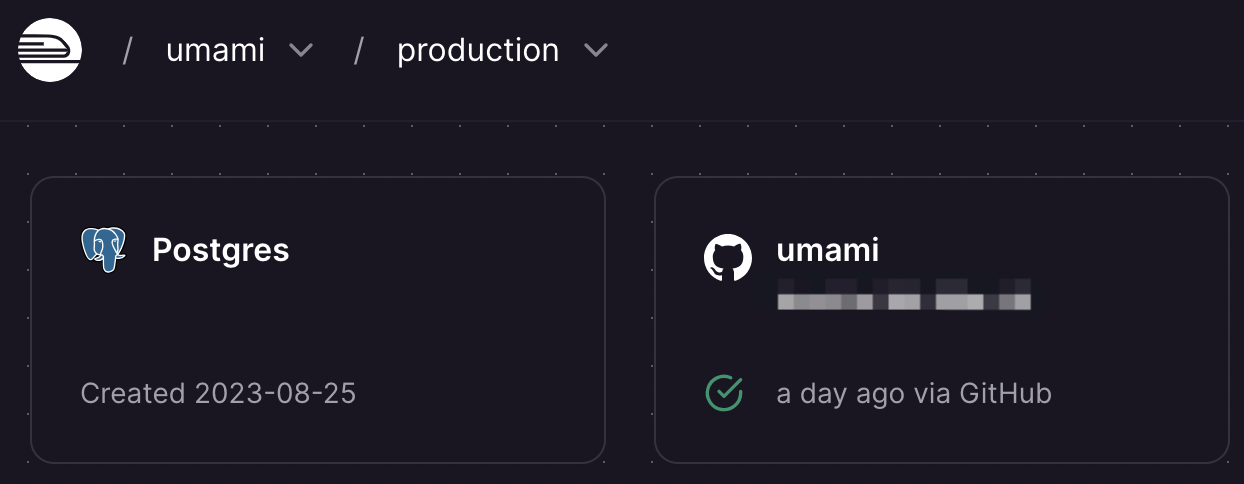
The self-operated umami service can be viewed in the same place as the Tracking Code, as shown in the figure below:

Reference #
https://umami.is/docs/running-on-railway
Vercel + TiDB Cloud (recommended) #
Deployment #
- Register with Vercel and TiDB Cloud
- Create a TiDB Serverless instance in TiDB Cloud and create a corresponding database
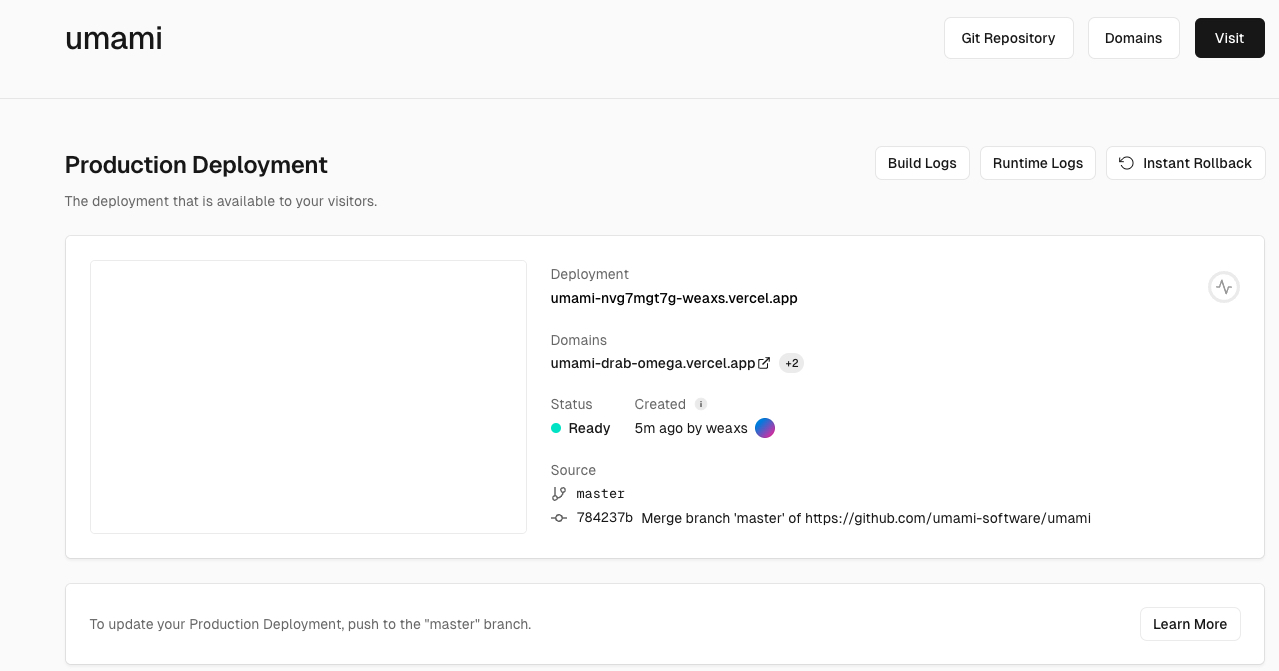
- Create a project for umami in Vercel. The operation here is no different from that of Railway, so it will not be repeated here.
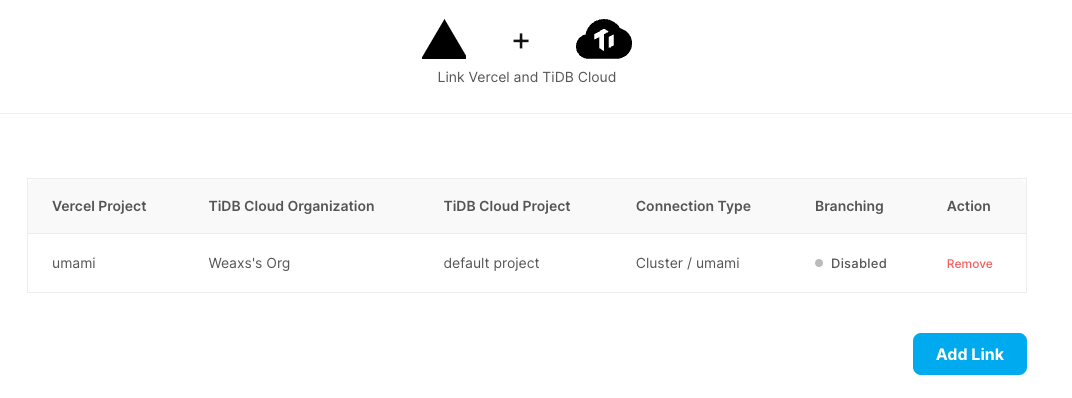
- Integrate TiDB Cloud with the corresponding project in Vercel. For this part, refer to the TiDB documentation Integrate TiDB Cloud with Vercel


Reference #
https://umami.is/docs/running-on-vercel
Integrate TiDB Cloud with Vercel
Configure under the Hugo framework #
Through familiarity with umami, we know that to add umami tracking to a website, we need to add <script async defer src="http://mywebsite.com/umami.js" data-website-id="94db1cb1-74f4-4a40-ad6c-962362670409"></script> to the <head> tag.
So, how do you add it to the
in the Hugo framework?Next, we need to understand Partial in Hugo. It is used for context components in page templates, such as unifying the configuration of the header and footer of the pages on the website. The specific configuration directory is layouts/partials/*
Back to the question, we need to add the umami script in <head>, which actually means we need to add it in layouts/partials/head.html. There are two ways to do this:
- Write it directly in
head.html - Write it in another directory of the partial and import it in
head.htmlby **{{** partial "<PATH>/<PARTIAL>.html" . **}}**
Ladder theme #
The source code for the Ladder theme is
From the source code in layouts/partials/common/analytics.html, you can see that this theme imports umami
{{ template "_internal/google_analytics.html" . }}

{{ if .Site.Params.analytics.umami.enable }}
<script async defer data-website-id="{{ .Site.Params.analytics.umami.website_id }}" src="{{ .Site.Params.analytics.umami.url }}"></script>
{{ end }}
At the same time, we can see in the source code layouts/partials/head.html, umami’s js is imported into the head as follows:
{{ partial "common/analytics.html" . }}
In summary, if we are building a blog based on Ladder, then we can simply add it directly to the configuration file. Specifically, add the following configuration to config.yml in the root directory of the project:
params:
	analytics:
	  umami:
	    enable: true
        website_id: xxxxxxxx-xxxx-xxxx-xxxx-xxxxxxxxxxxx
        url: https://analytics.umami.is/script.js
Blowfish theme #
The code base of the Blowfish theme is
Blowfish supports analytics in the directory layouts/partials/analytics. Here we can see that Blowfish currently only supports the following two analytics:
- Google Analytics
- Fathom Analytics
In layouts/partials/head.html we can see that Blowfish imports main.html from the analytics directory into head.html
  {{/* Analytics */}}
  {{ partial "analytics/main.html" .Site }}
  {{/* Extend head - eg. for custom analytics scripts, etc. */}}
  {{ if templates.Exists "partials/extend-head.html" }}
  {{ partialCached "extend-head.html" .Site }}
  {{ end }}
Below we provide two ways to add umami analytics
- Without modifying the source code version
- Add the
layouts/partials/extend-head.htmlfile to import the umami script - Add the parameter to
config/_default/params.toml
- Add the
- Modify the source code version
- Add
layouts/partials/analytics/umami.html. The specific code is the same as the extend-head.html in Method 1 - Modify
layouts/partials/analytics/main.htmland import umami.html via{{ partial "analytics/umami.html" .Site }} - Add a parameter to
config/_default/params.toml
- Add
The following is an example version, and the html file is imported as follows:
{{ if isset site.Params.umamiAnalytics "domain" }}
<script async src="https://{{ site.Params.umamiAnalytics.domain }}/script.js" data-website-id="{{ site.Params.umamiAnalytics.websiteid }}"></script>
{{ else }}
<script async src="https://analytics.umami.is/script.js" data-website-id="{{ site.Params.umamiAnalytics.websiteid }}"></script>
{{ end }}
Add the parameters in config/_default/params.toml
[umamiAnalytics]
  websiteid = "xxxxx"
  domain = "umami.example.com"
Configure TrackEvent #
Here is some sample code. The html file is as follows:
const type = document.head.querySelector('meta[property = "og:type"]').getAttribute('content');
let title = document.head.querySelector('meta[property = "og:title"]').getAttribute('content');
let url = document.head.querySelector('meta[property = "og:url"]').getAttribute('content');
umami.track(type + ':' +title, {'url': url});
umami Tracker parameters #
The script we gave above only uses the src and data-website-id parameters. You can also add some other parameters. The specific documentation is in tracker-configuration. Here is a summary
| Parameter | Purpose |
|---|---|
| data-host-url | By default, trace information is sent to the host where the js is deployed, i.e. the host in src. This configuration can be used to modify the host to which the information is sent. |
| data-auto-track | By default, this is set to true, which automatically traces all page visits and events. This can be set to false, and used in conjunction with tracker functions to set events and access behavior. |
| data-do-not-track | By default, this is set to false. If set to true, it means that the visitor’s “Do Not Track” setting is respected. |
| data-cache | By default, this is set to false. If a user has a lot of visits, setting this to true can improve the user’s access performance by caching. |
| data-domains | If you only want to trace on specific domains, you can add this parameter to limit it. |

